Scene Editor
When opening a scene (or an external layout), the Scene Editor opens.

The Scene Editor is where you can design and build the game levels, menus, inventories, or any other screen in the game. The Scene Editor allows you to create and add objects to the scene. The gameplay and rules of the game can be created using events in the Events Editor.
On the right side of the toolbar in the scene editor, you have options to open panels used for different parts of your game, as well as some other tools.

Objects panel
The Objects Panel, when first opened, appears on the right side of the Scene Editor's interface. This is where you can see all of the objects used in your scene. You can also add new objects to your list by clicking the add new objects button at the bottom of the panel.

If you close the Object Panel, you can reopen it by using this button on the toolbar:

Read about all the features available and the objects types to learn more about the different kinds of objects you can use in your game.
Instance Properties panel
You can find the Instance Properties panel on the left side of the Scene Editor's interface. When opened, the panel may have no information displayed in it, but if you select an instance of an object placed into your scene, the panel will display all of the information relevant to that instance of the object.

An object that you put on the scene is called an instance. The Properties panel allows you to change the properties of the selected instance(s):

- Name indicator: displays the name of the object that the instance represents
-
Instance lock: blocks an instance's possition. It has 3 states: (ii) blocks the instance while maintaining its edition capabilites, (iii) blocks the instance's possition, edition and selection, and (i) unlocks the instance completely. Another method to unlock an instance is finding the instance on the instance panel list and clicking on the icon to unlock the desired instance

-
Edit object: opens the dialog to modify the instance's object
- Position values: instance's coordinates on the scene
- Size values: instance's size values like Width -horizontal size-, Height -vertical size- and Depth for 3D objects
- Maintain proportions: links size values to be modified proportionally. Values can be modified by typing the size in the input, or by clicking on the input's name and dragging horizontally to increase or decrease the value
- Reset to object values: reset modified values in the instance to their object's original size
- Layer: displays the instance's location in the Layer Panel
- Animation: displays and modifies instance's animation
All objects share common properties (as well as common actions and conditions in events). You can learn about these here. * Some objects can also have special properties. For example, a Sprite object allow you to set the initial animation of each instance on the scene (the default animation being the first). Read about objects to see all the objects that you can use in GDevelop.
Tip
While the difference between an instance and an object can be fuzzy if you're new to GDevelop, it's important to understand that an object is like a blueprint (it's also called a "Class" in some programming languages). You can have multiple objects living on the scene: these are called instances.
If you have closed this panel, you can open it again by clicking the button in the toolbar:

Note
GDevelop panels can be moved by dragging them to any place on the screen. Simply drag the panel using the title bar.
Objects Groups panel
In the Objects Groups panel, you can find the list of groups of objects that are present in the scene.
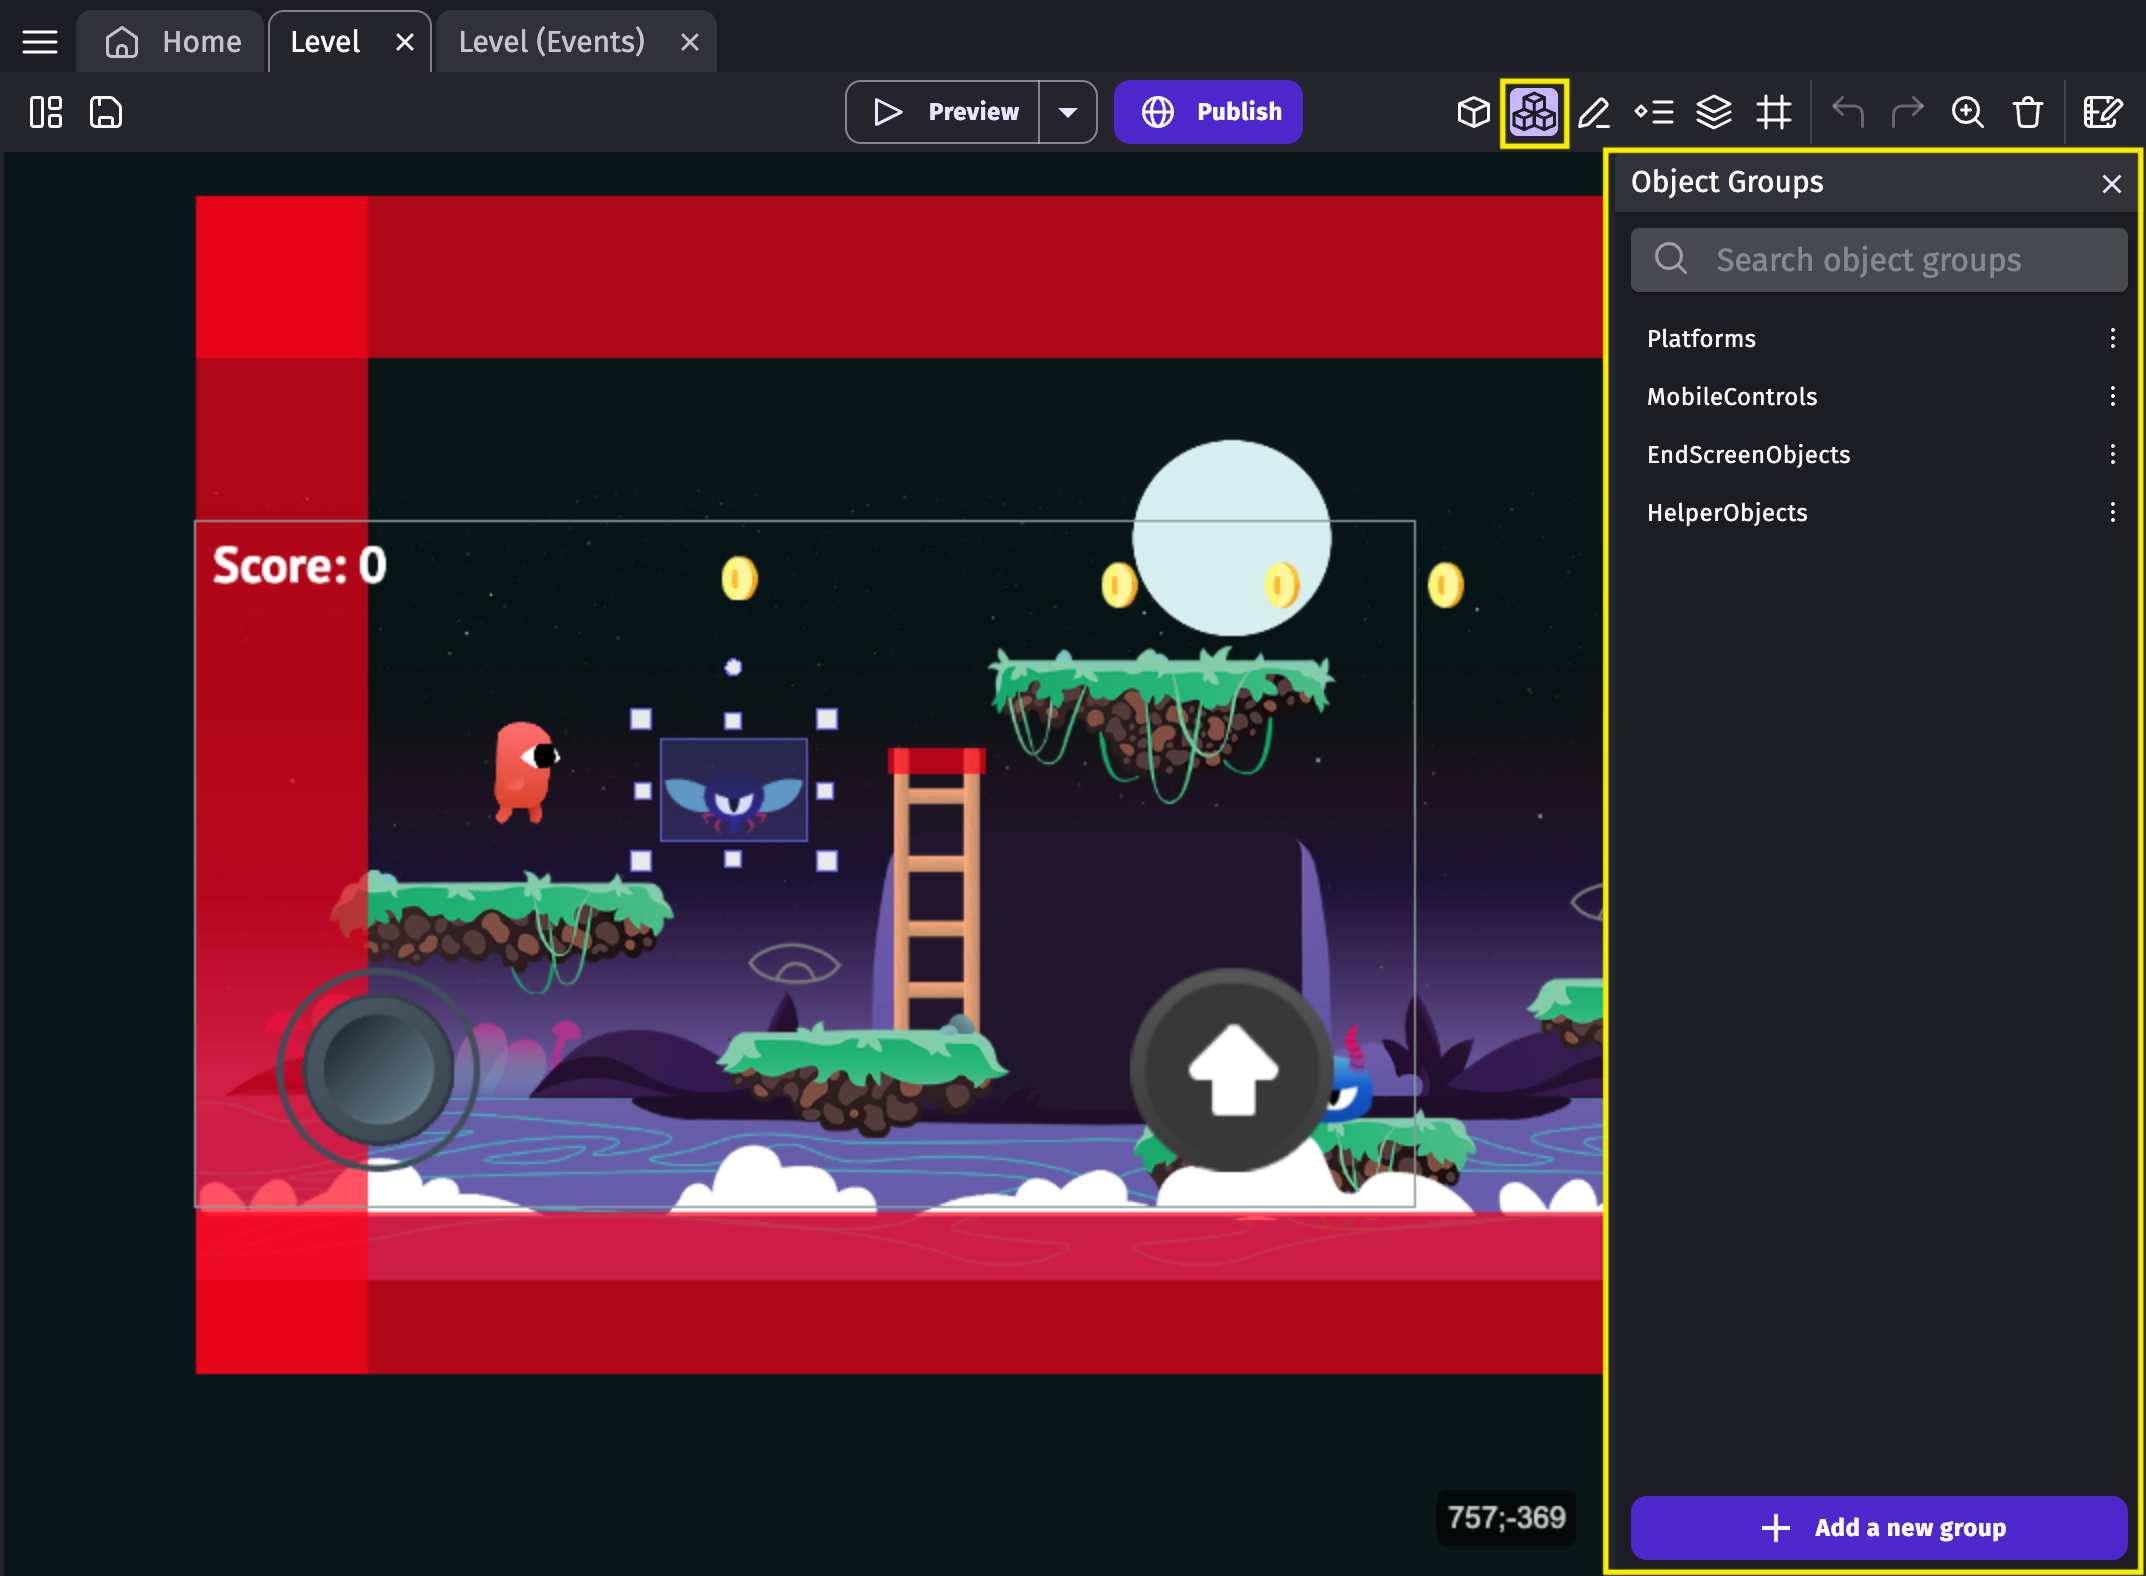
To open the panel, click this button in the toolbar:

Object groups contain objects and can be used in events to refer to multiple objects, using a single event. Read more about them on the page about common features for all objects.
Instances panel
The instances panel displays the list of all of an object's instances living in the scene. It can be used to quickly select any instance. In the list, you can see the position, angle, layer and Z order in the scene of any instance.
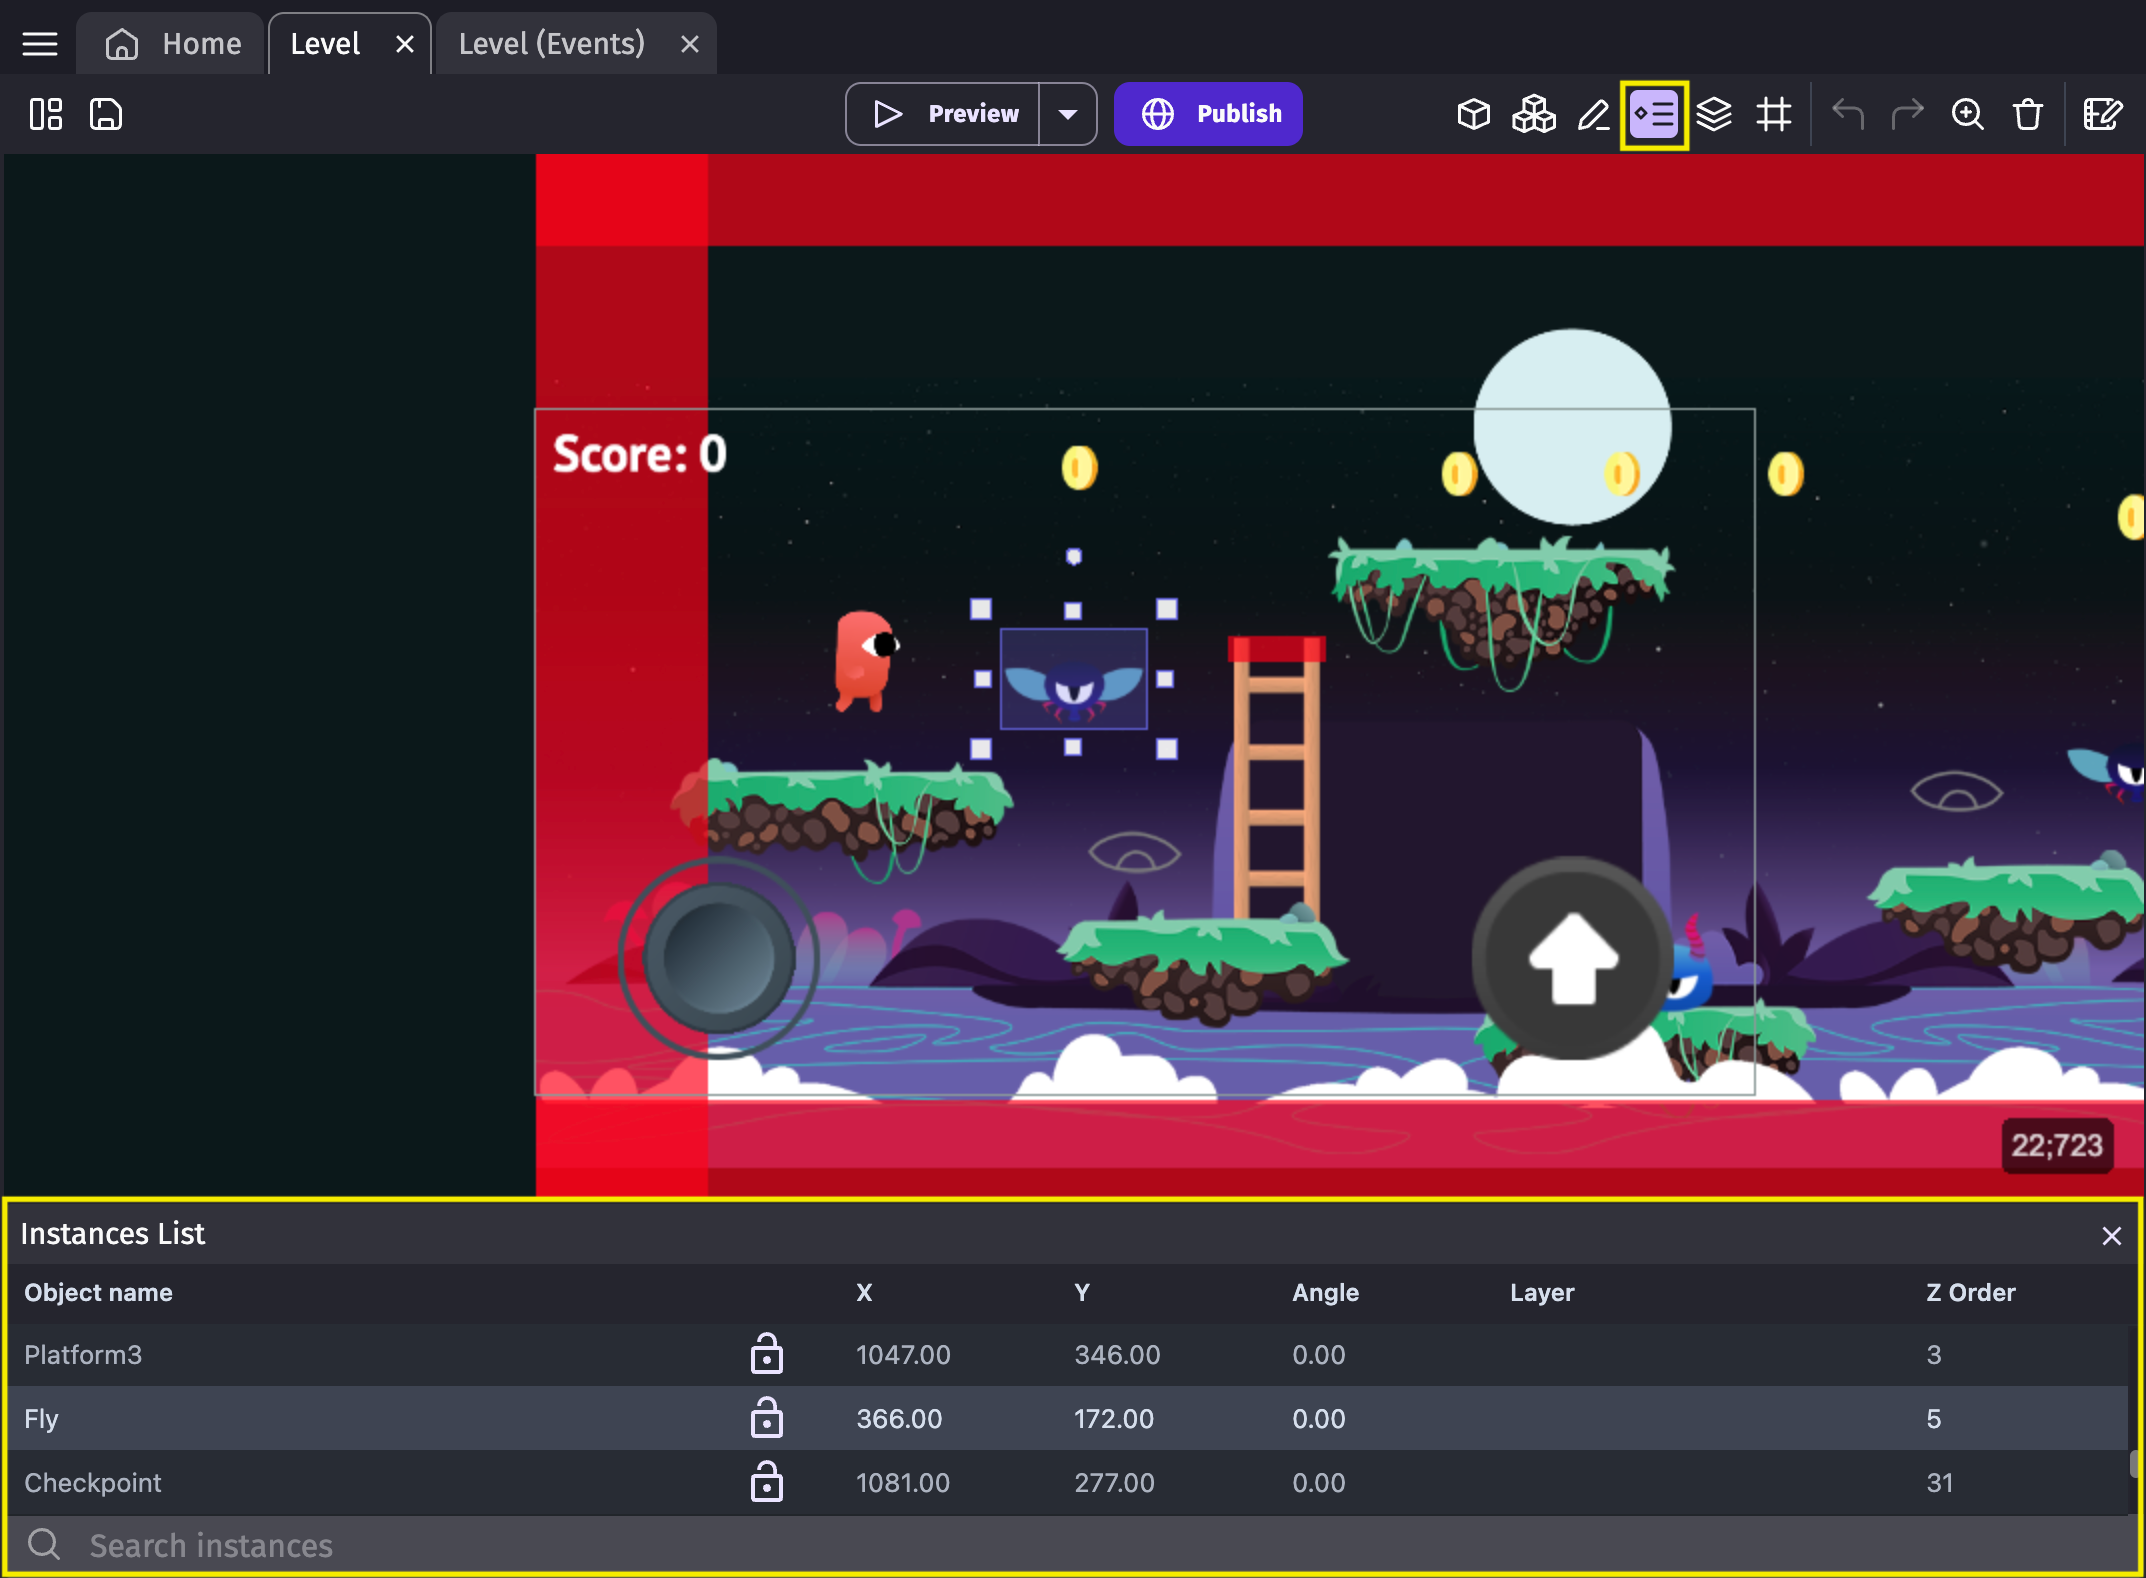
You can open the Instances panel by clicking this button in the toolbar:

Layers panel
A layer acts as a virtual container for objects displayed on the screen. By default, objects are drawn on the “base layer”, but scenes can have multiple layers. For example, it is common for a "UI" layer to display controls and text, while another layer could be used for the background.
Read more about layers and cameras here.
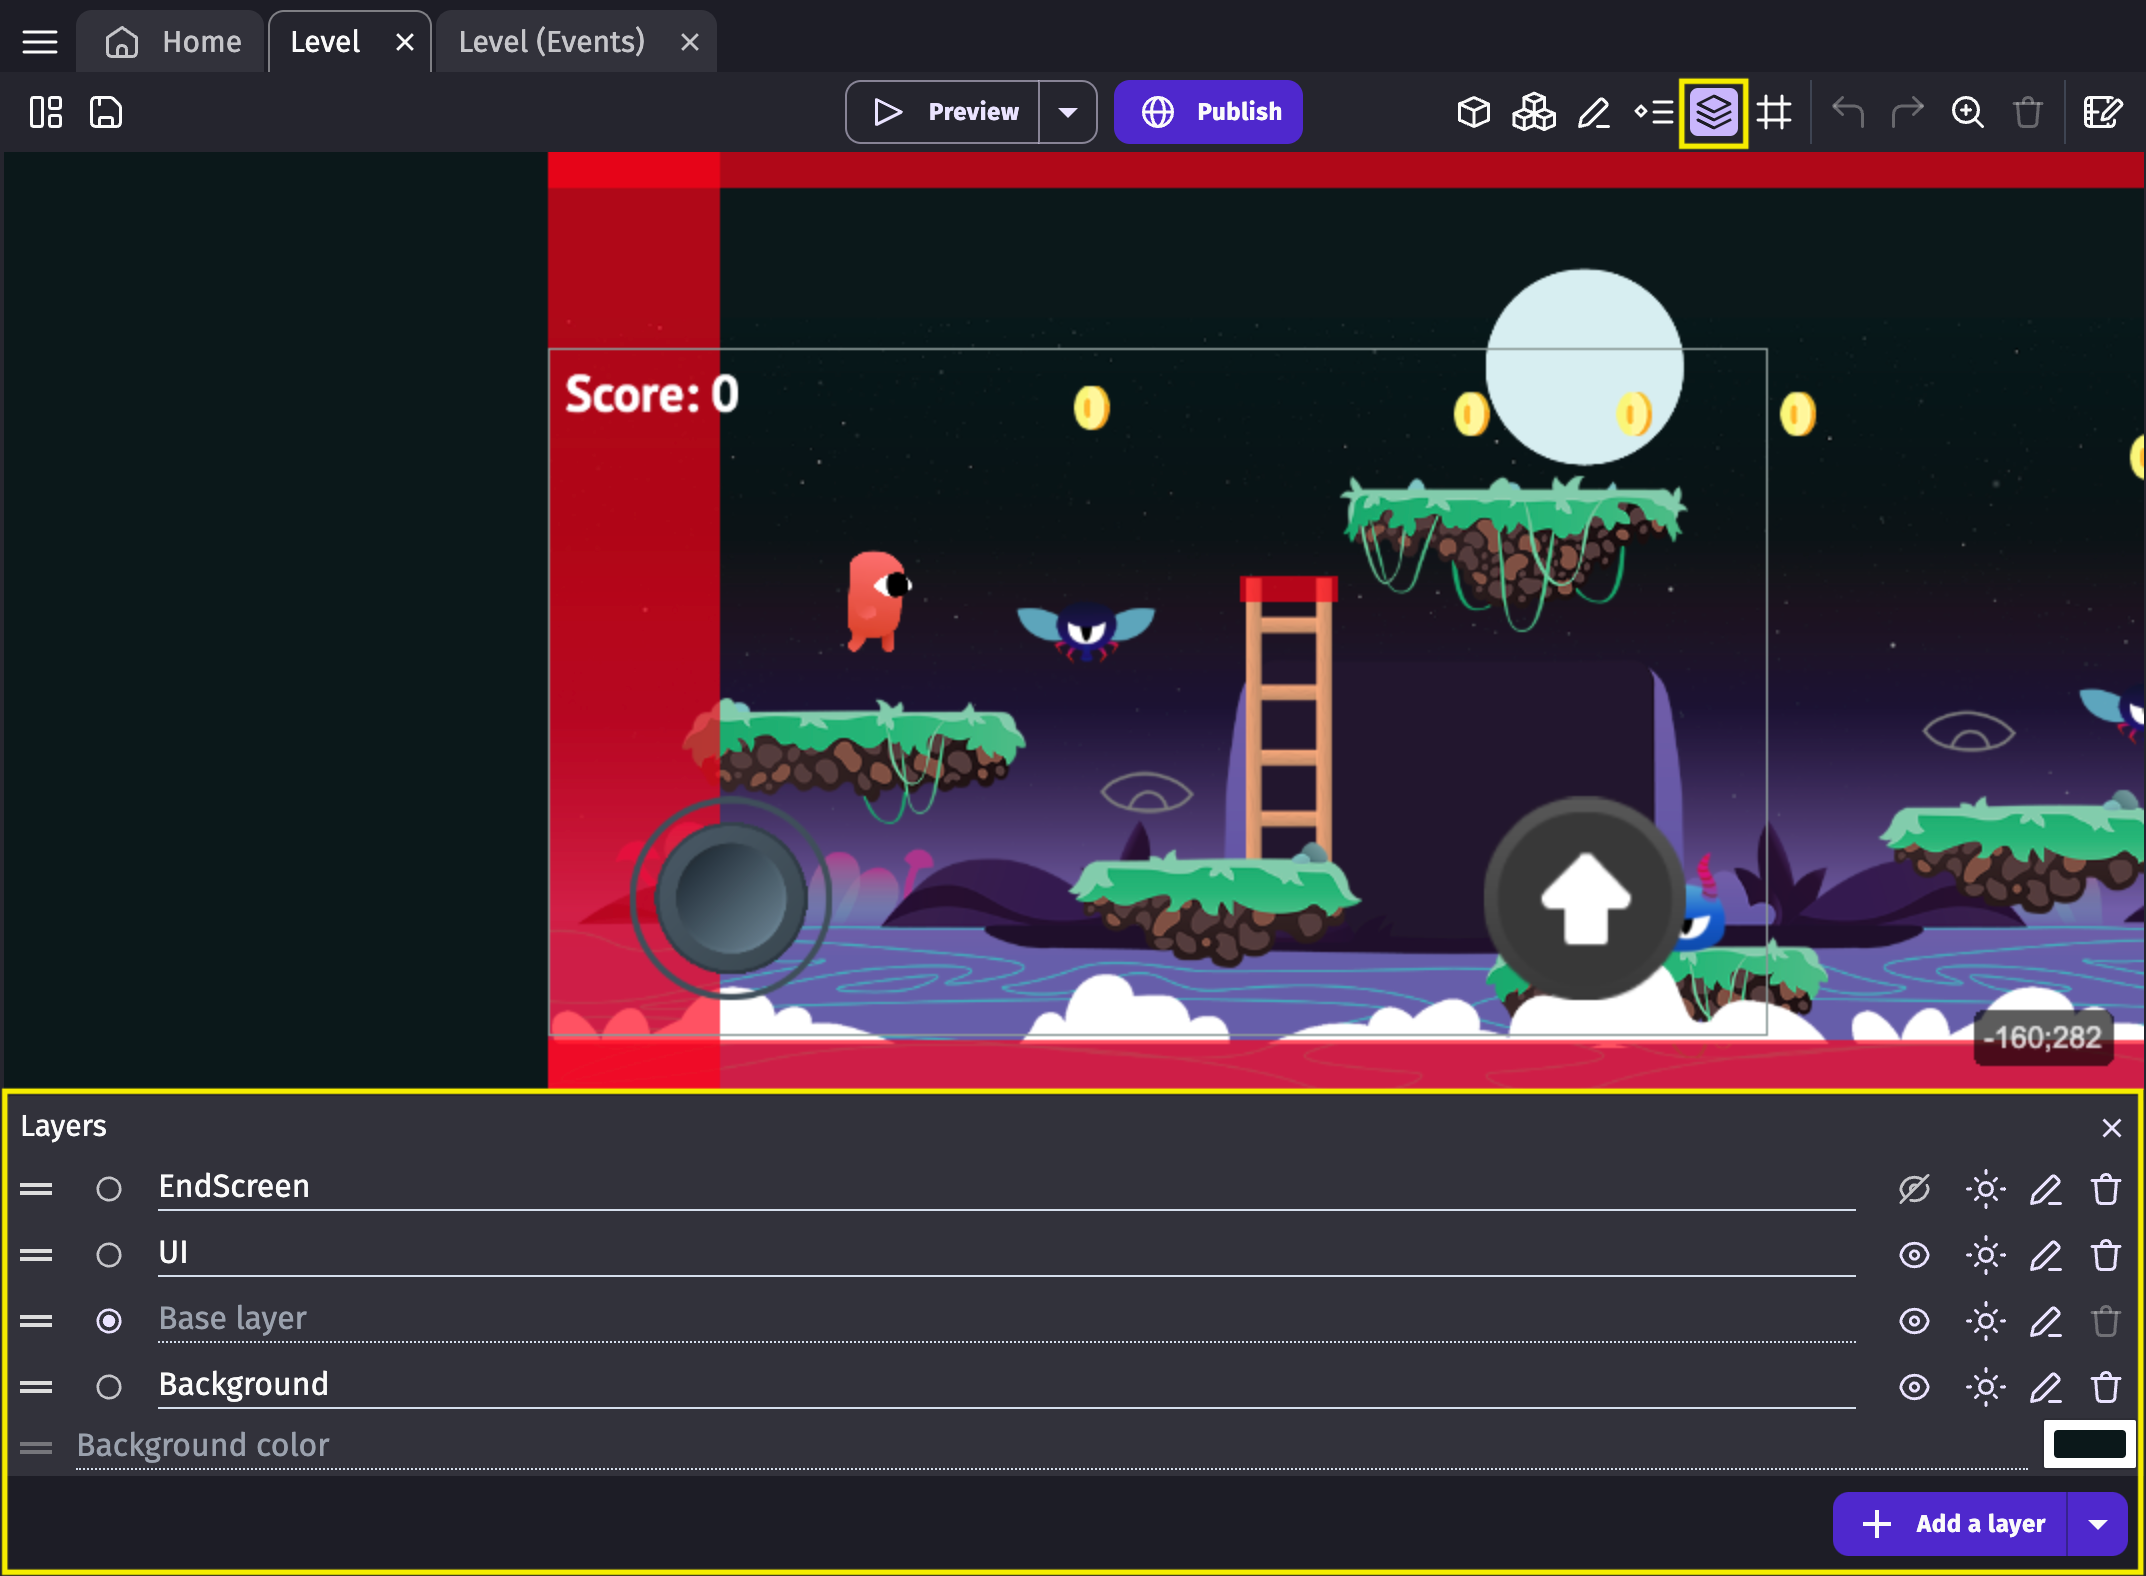
You can open the layers panel by clicking this button in the toolbar:

Other tools
Toggle/Edit grid
By clicking the grid button in the toolbar, you get multiple options:
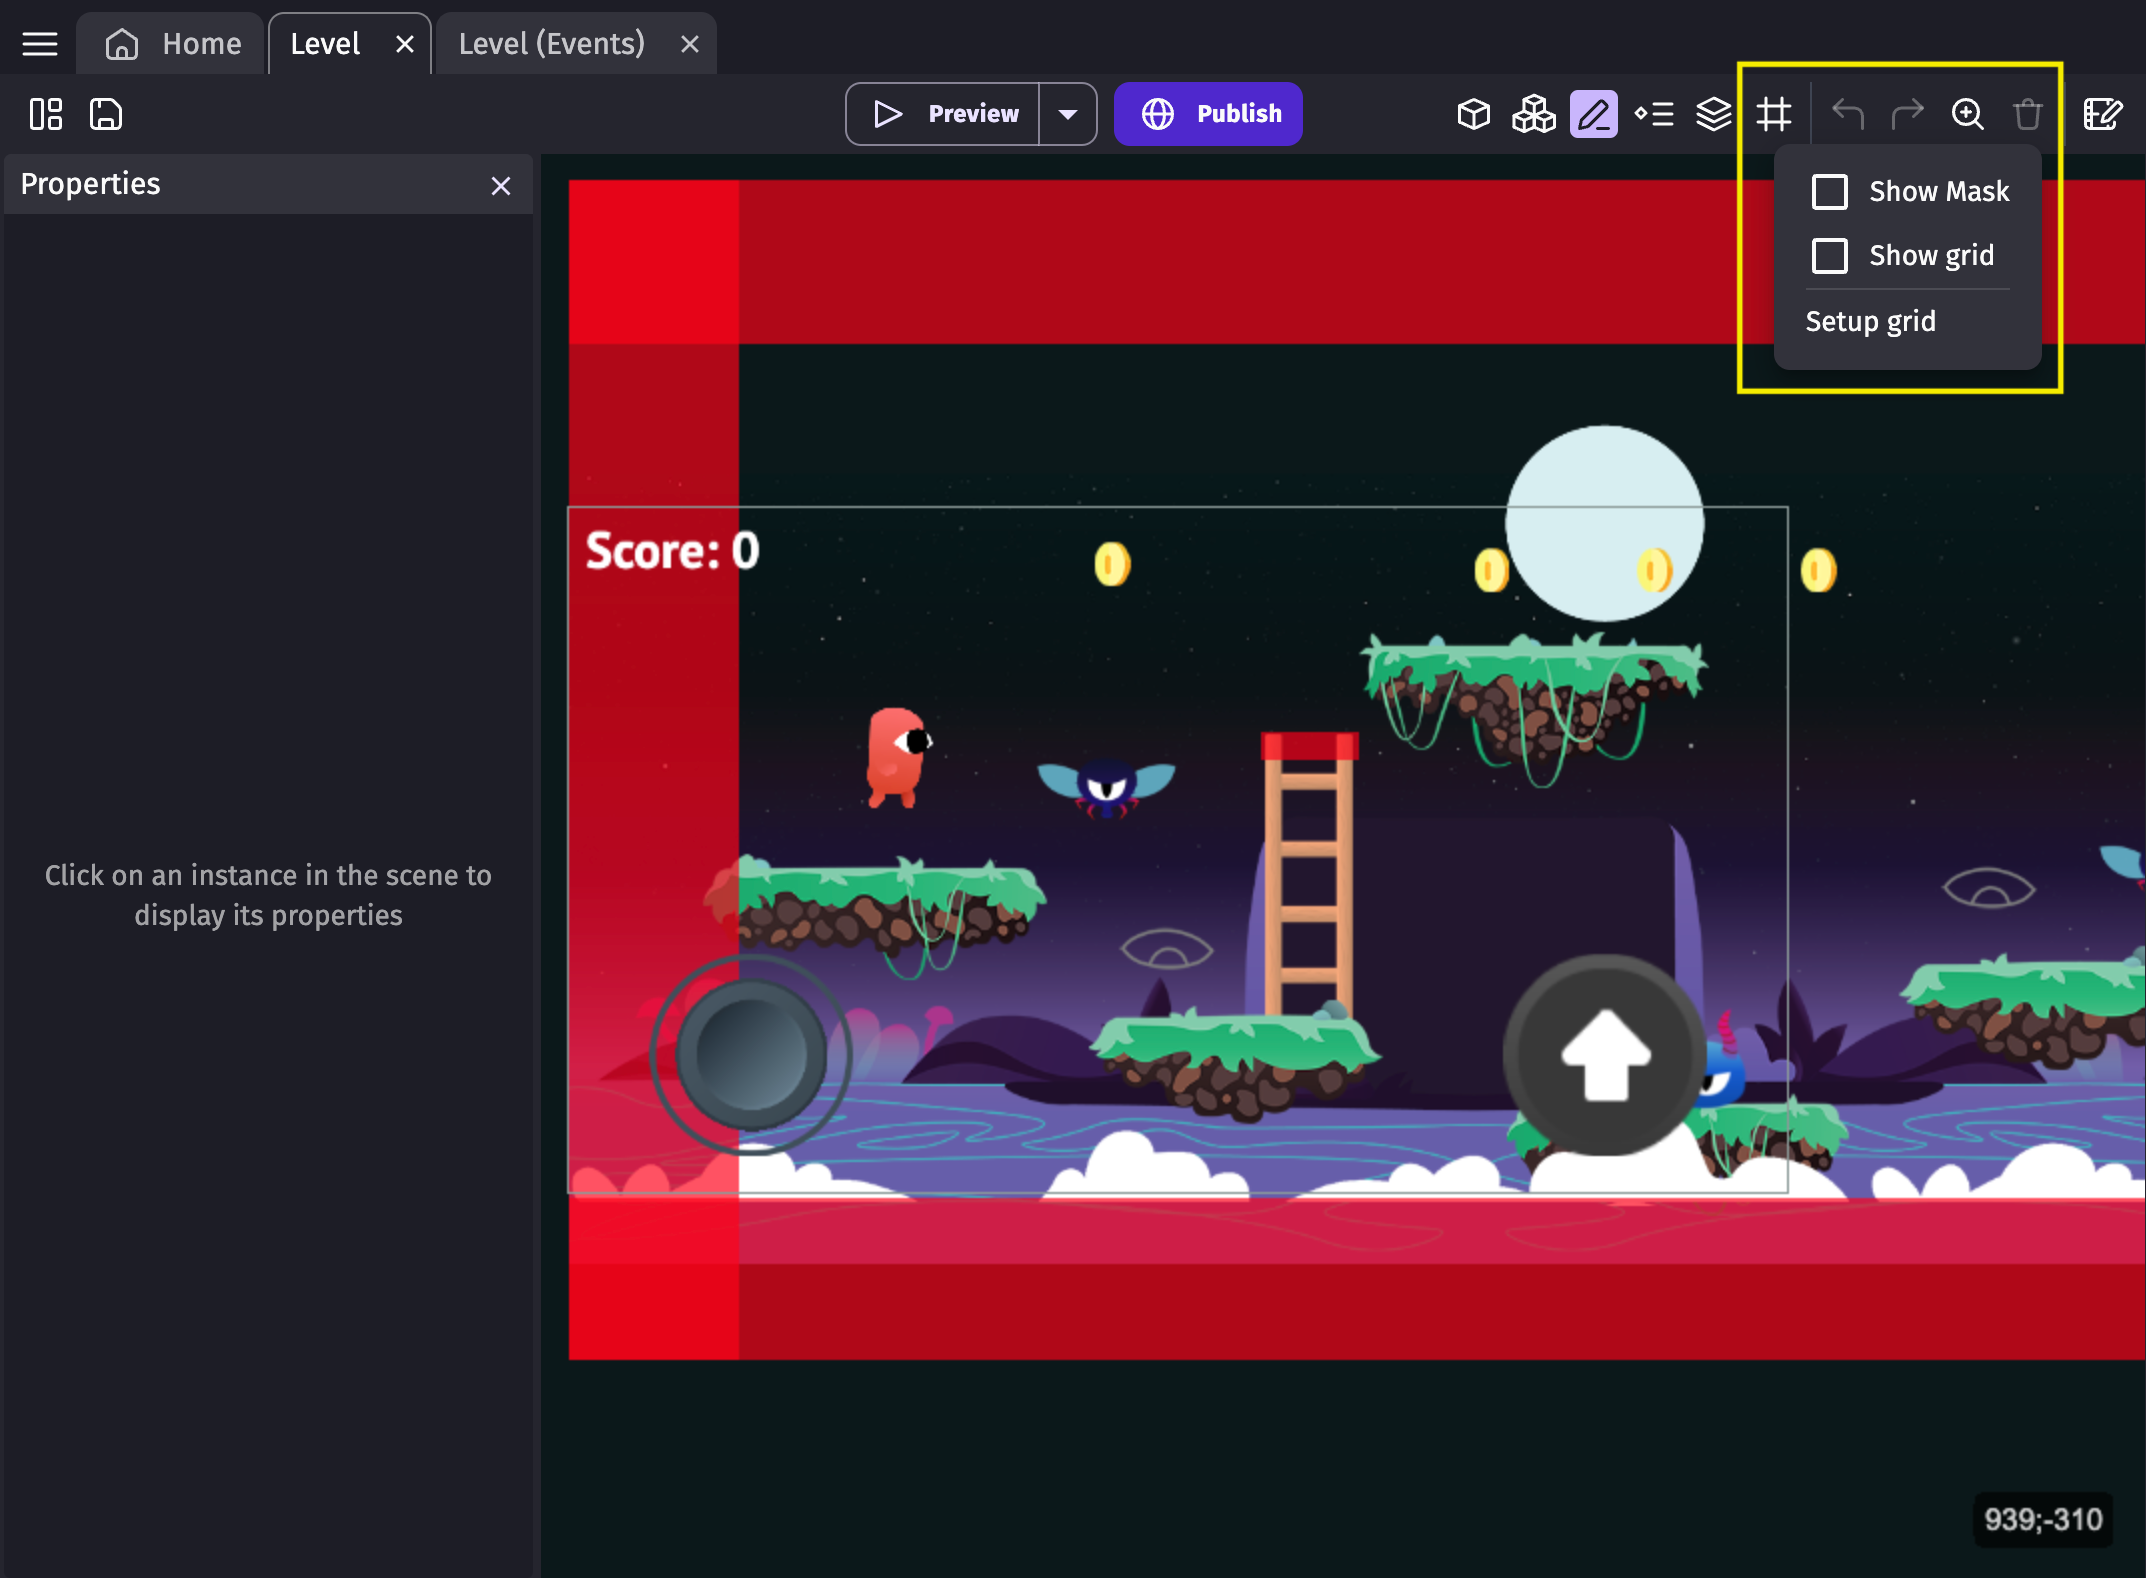
- Show mask: this option displays or hides a black border on the scene. It represents the size of the game window.
- Show grid: this option turns the grid off or on within the scene editor. Having a grid is useful when we need to place objects accurately.
- Setup grid: this option opens a window that allows you to set up the size and position of the grid.
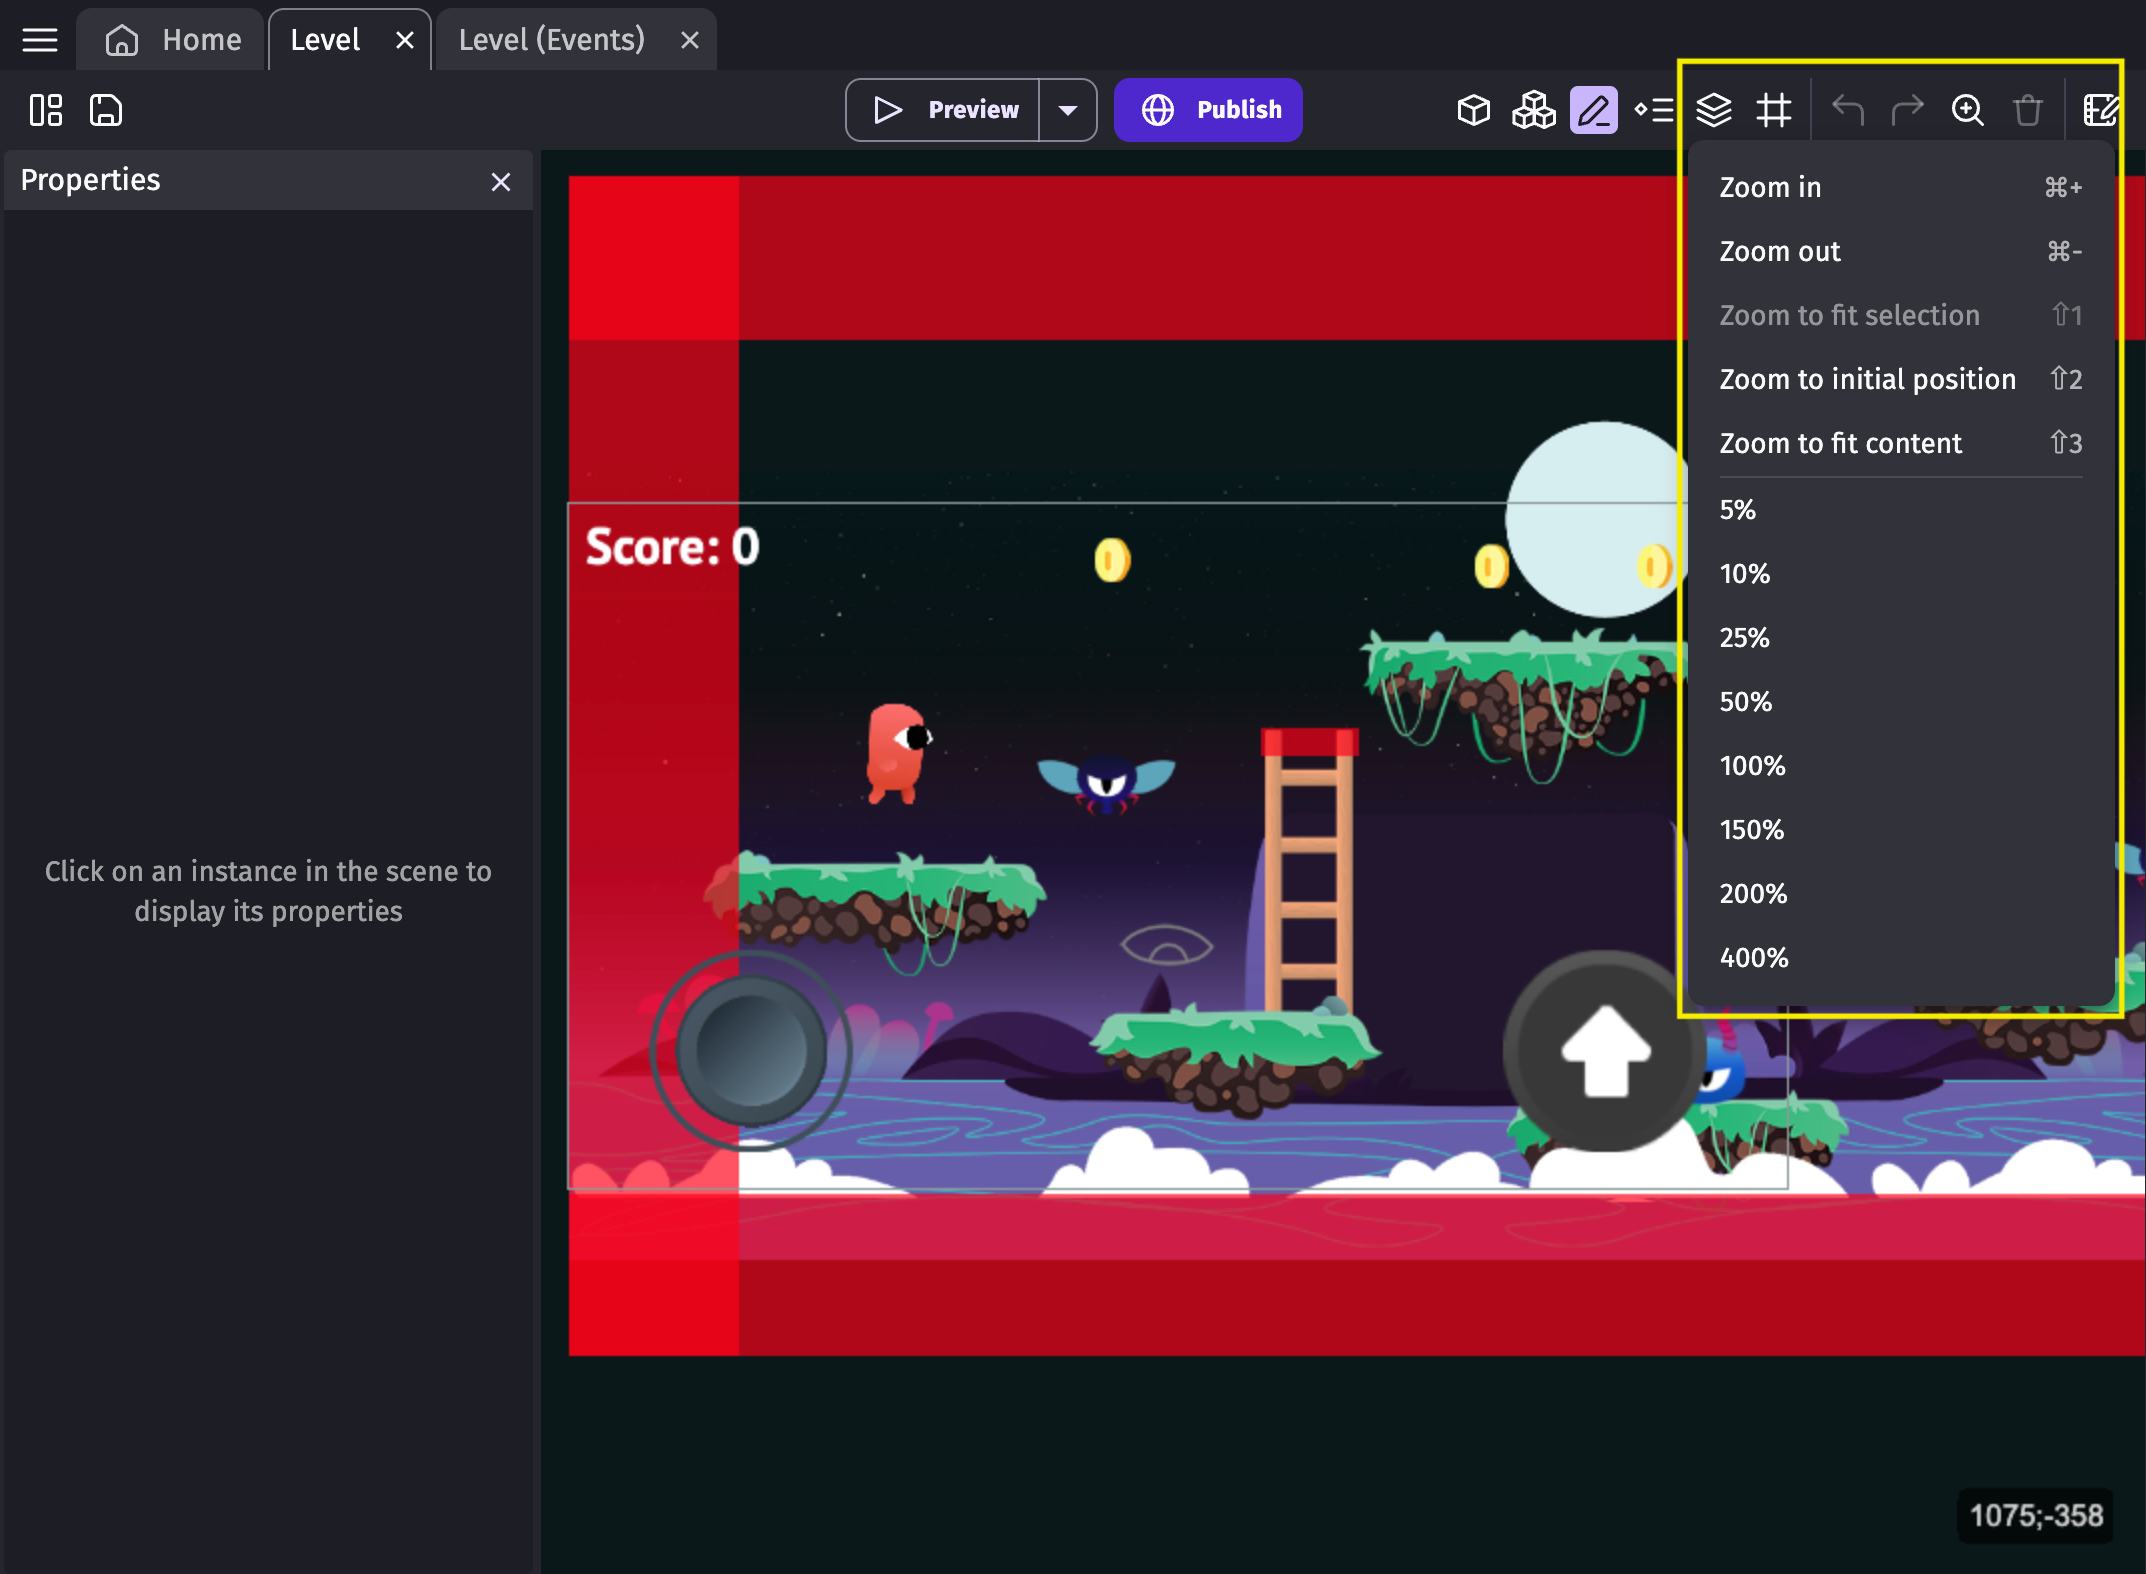
Change editor zoom
By clicking on the zoom button, you can change the zoom level inside the scene editor:
Launch a preview of the scene
By clicking on the "Preview" button, you can launch a preview of your game.
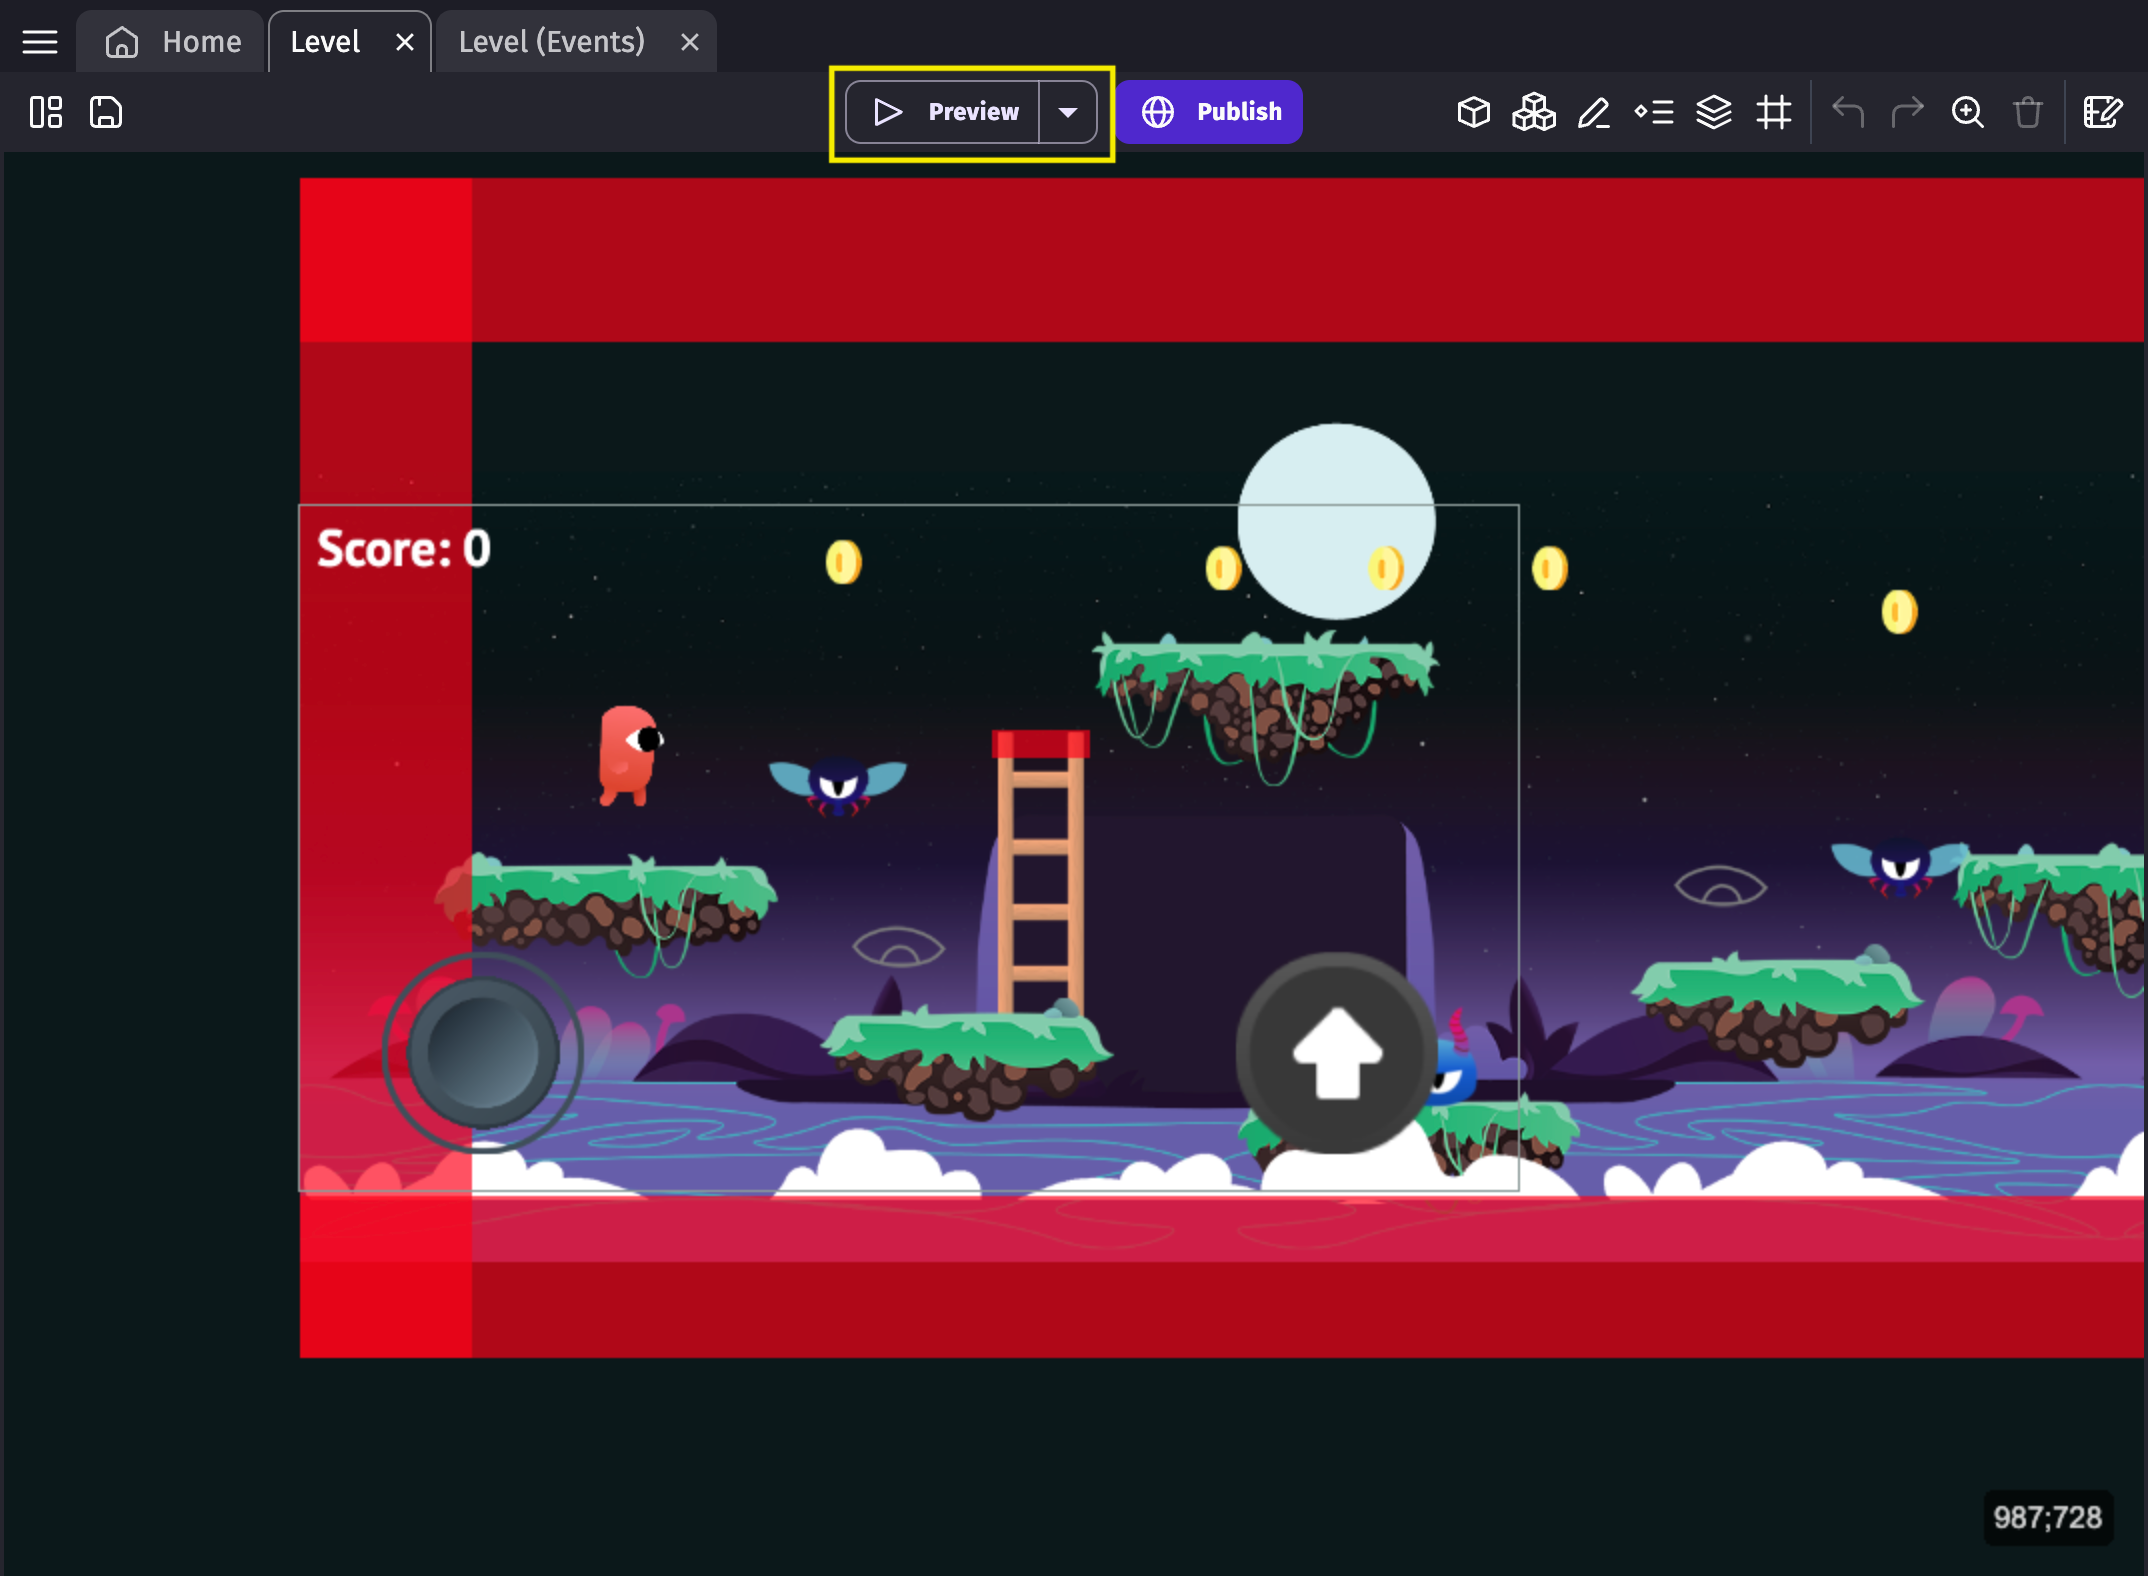
The preview will open in a separate window. Read more about launching a preview here.